Using the AI Assistant
Only in DbVisualizer Pro
This feature is only available in the DbVisualizer Pro edition.
DbVisualizer offers the built-in AI Assistant that helps you work faster and more confidently with your databases and scripts. It supports everyday tasks like writing and improving SQL, understanding and developing schemas, and troubleshooting errors, with explanations and suggestions tailored to what you are working on. You can use it to reason about most aspects of your database or query, from explaining database features to modelling, writing queries and much more.
Activating AI features
The first time you open the AI Assistant, you will be asked to log in and accept the AI EULA addendum. If you haven't logged in before, you will need to create an account. Once this has been done, you are ready to put AI to work.
Opting out
AI features in DbVisualizer are strictly opt-in. If you want everything to stay local and avoid any server-side AI processing, simply do not enable the assistant. To disable AI at a later stage, open Tool Properties → AI Assistant and uncheck the Enable AI Assistant setting. This will turn AI features off completely.
Working with the AI Assistant panel
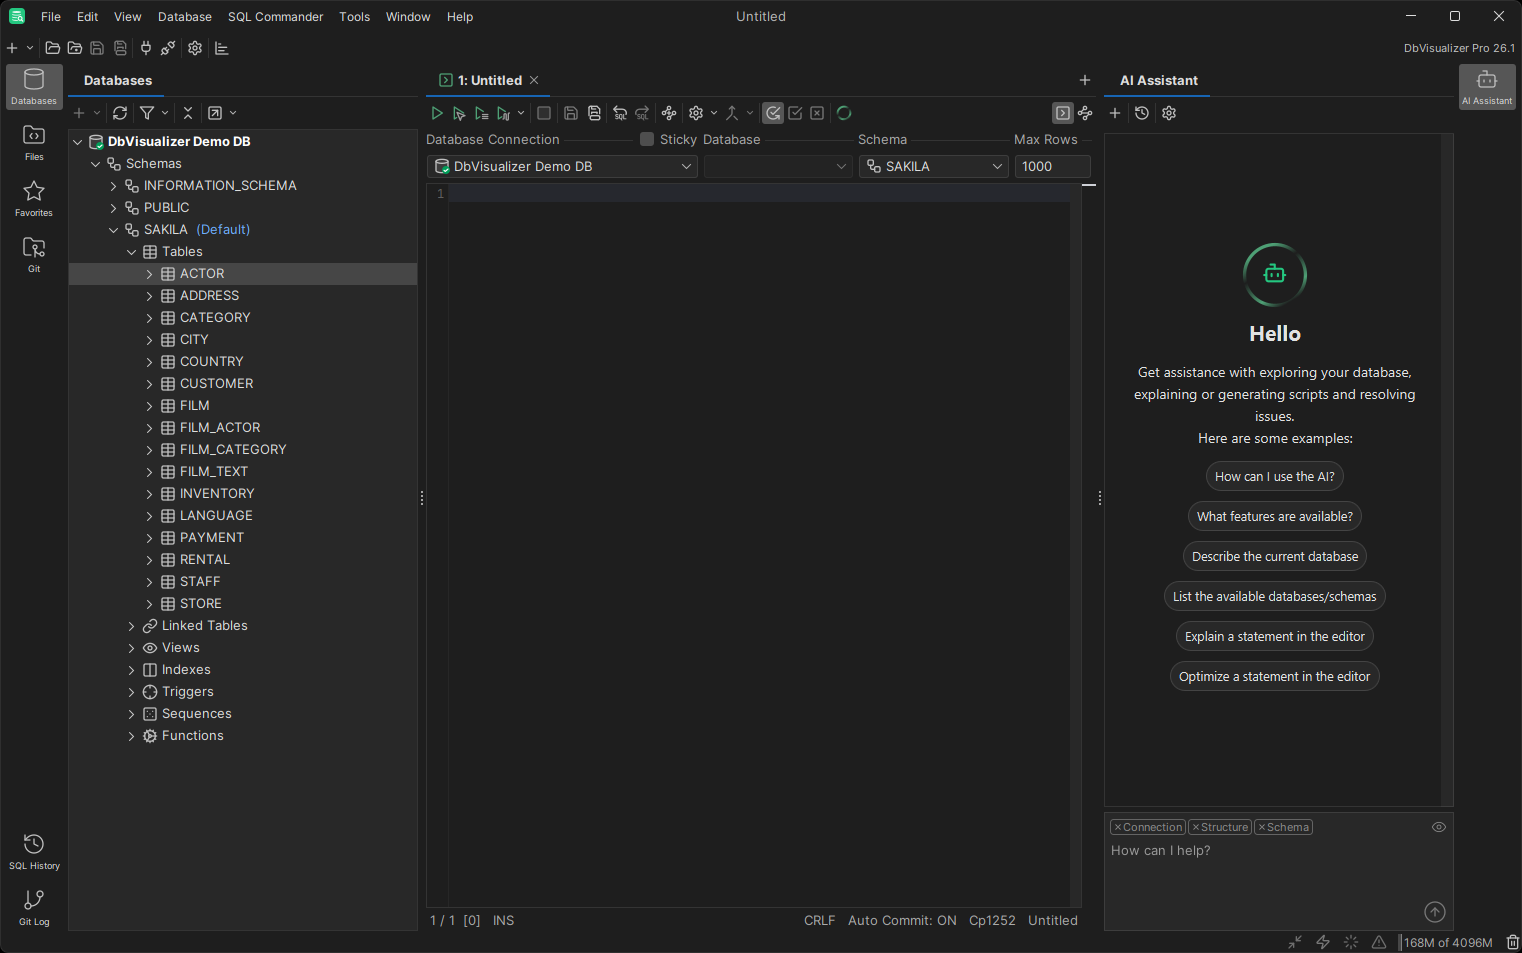
To open the AI Assistant, use the button in the top-right corner of the main window. This opens the AI Assistant panel consisting of a large output area and a smaller input area. The basic workflow is to submit a question using the input area, read the response generated by the AI, ask a follow-up question, read the new response, and so on.
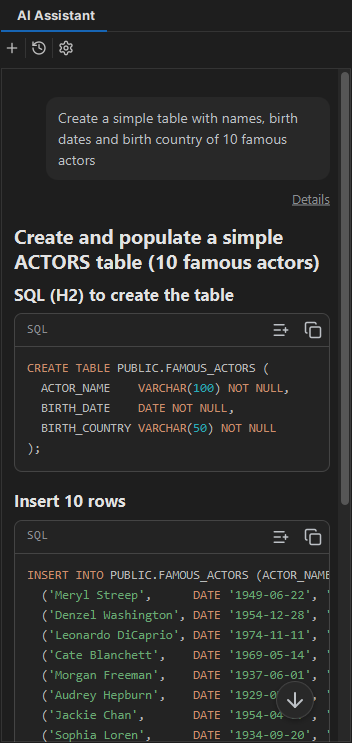
If the AI response includes code, it will be presented as a code block that can be executed, copied to the clipboard, or inserted into the active editor tab using context actions.
Permissions
Generated queries and suggested code changes can be executed directly from the AI Assistant panel. This allows you to quickly test an idea, inspect results, and iterate on your queries without copying and pasting into the editor.
Queries executed this way are checked against a separate set of permissions. To prevent unintended data modifications, the default settings are restrictive. You can adjust them in Tool Properties → AI Assistant.
These settings are used in addition to the global and connection-level permissions.
Context information
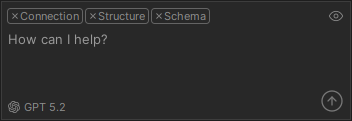
When connected to a database, you can optionally allow DbVisualizer to include relevant context together with your prompt. This helps the assistant provide more accurate, environment-specific responses. The context includes information about the current database connection (such as database type and driver version), structure (existing databases and schemas), and details about the selected schema (tables and columns). You can include or exclude this information by clicking on the corresponding item in the input area. To see which context data will be included, click the icon in the input area.
The context will be updated automatically when you switch between editor and object tabs, and you can use different context details for each question in your conversation with the AI. To see which context was included with a specific question, click the Details link under the question in the output area.
You will be asked to choose whether the database context should be included by default before you ask your first AI question. You can alter this setting later in Tool Properties → AI Assistant.
Choosing AI provider and model
The quality of AI-generated answers may vary greatly depending on how you formulate your question, how much context you include, and which AI model is being used. The active model is displayed in the bottom left corner of the input area.
To select a different AI model, click the model indicator and choose a model from the displayed list. This allows you to align the AI Assistant with your organization's compliance requirements, or switch between models based on the complexity of the database task at hand.
Chat history
To start a new chat, press the button in the toolbar at the top of the AI Assistant panel. When you do so, your current conversation will be archived. To open an archived conversation, press the button in the toolbar. When you select an earlier conversation from the list, your current conversation will be archived and the selected conversation will be loaded instead. You will be able to see earlier prompts and responses, and continue the conversation.
Adjusting font size
By default, the font in the AI chat is a little larger than the application font to make it easier to read long responses. If you prefer a different font size, see the Font Scale setting in Tool Properties → AI Assistant. For quicker access, AI Assistant settings can also be opened by pressing the button in the toolbar.
AI in the editor
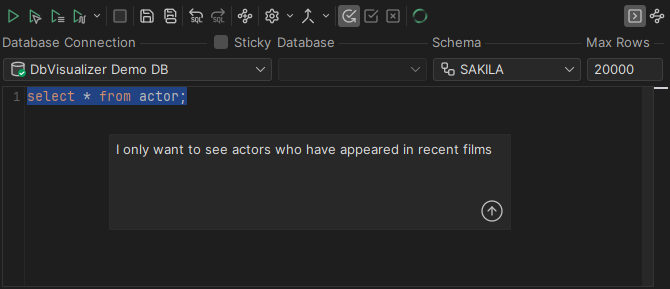
When working on a script in SQL Commander, you can ask the AI Assistant questions about your query directly from the editor. To do so, click the Ask AI Assistant button in the SQL Commander toolbar or use the corresponding keyboard shortcut.
If you have highlighted a selection in the editor, that specific code block is used. Otherwise, the query at your current cursor position is selected automatically. This action starts a new conversation, and any changes suggested by the assistant can be applied directly back to your original code using the context actions in the output area.
The lightbulb menu
When your cursor is within a specific SQL statement, a lightbulb icon appears in the left editor margin. Clicking this icon opens a context menu with quick options to optimize the syntax, ask a quick question, or fix an execution error.
It is possible to turn off the lightbulb menu in Tool Properties → AI Assistant.
Explain and fix errors
If a query fails during execution, the error is marked directly in the editor, and a lightbulb icon appears next to the failed statement. To get an AI-generated explanation, click the lightbulb icon and select Analyze Error.
This opens a popup where the AI Assistant explains the issue and suggests a resolution. From this popup, you can apply the fix instantly, ask follow-up questions, or transfer the conversation to the AI Assistant panel for deeper troubleshooting.
Fix errors from the Log tab
Execution errors are also listed in the Log tab. You can also get help with an error by selecting the error row in the log grid and clicking the AI button in the Log tab toolbar. This opens a new chat session in the AI Assistant panel to explain the error and propose a fix.
AI credit balance
Each question to the AI has an associated cost that depends on the size of the input and the generated output, as well as the selected AI model. Note also that every follow-up question in an AI conversation will increase the size of the input, and consequently also its cost.
To see your current AI credit balance, check Tool Properties → AI Assistant. When you have reached zero credits, you will need to refill to be able to ask more AI questions.