Setting up your organization
The first time you sign in, the portal automatically opens an onboarding guide. It walks organization owners and admins through completing their profile and configuring their organization's details before using the portal. Regular team members see only the profile step.
You can either complete the onboarding right away or click Skip to defer it. If you skip, you can reopen it at any time from the Dashboard.
Step 1: Your profile
Enter your full name. Optionally upload a profile photo. Click Continue.
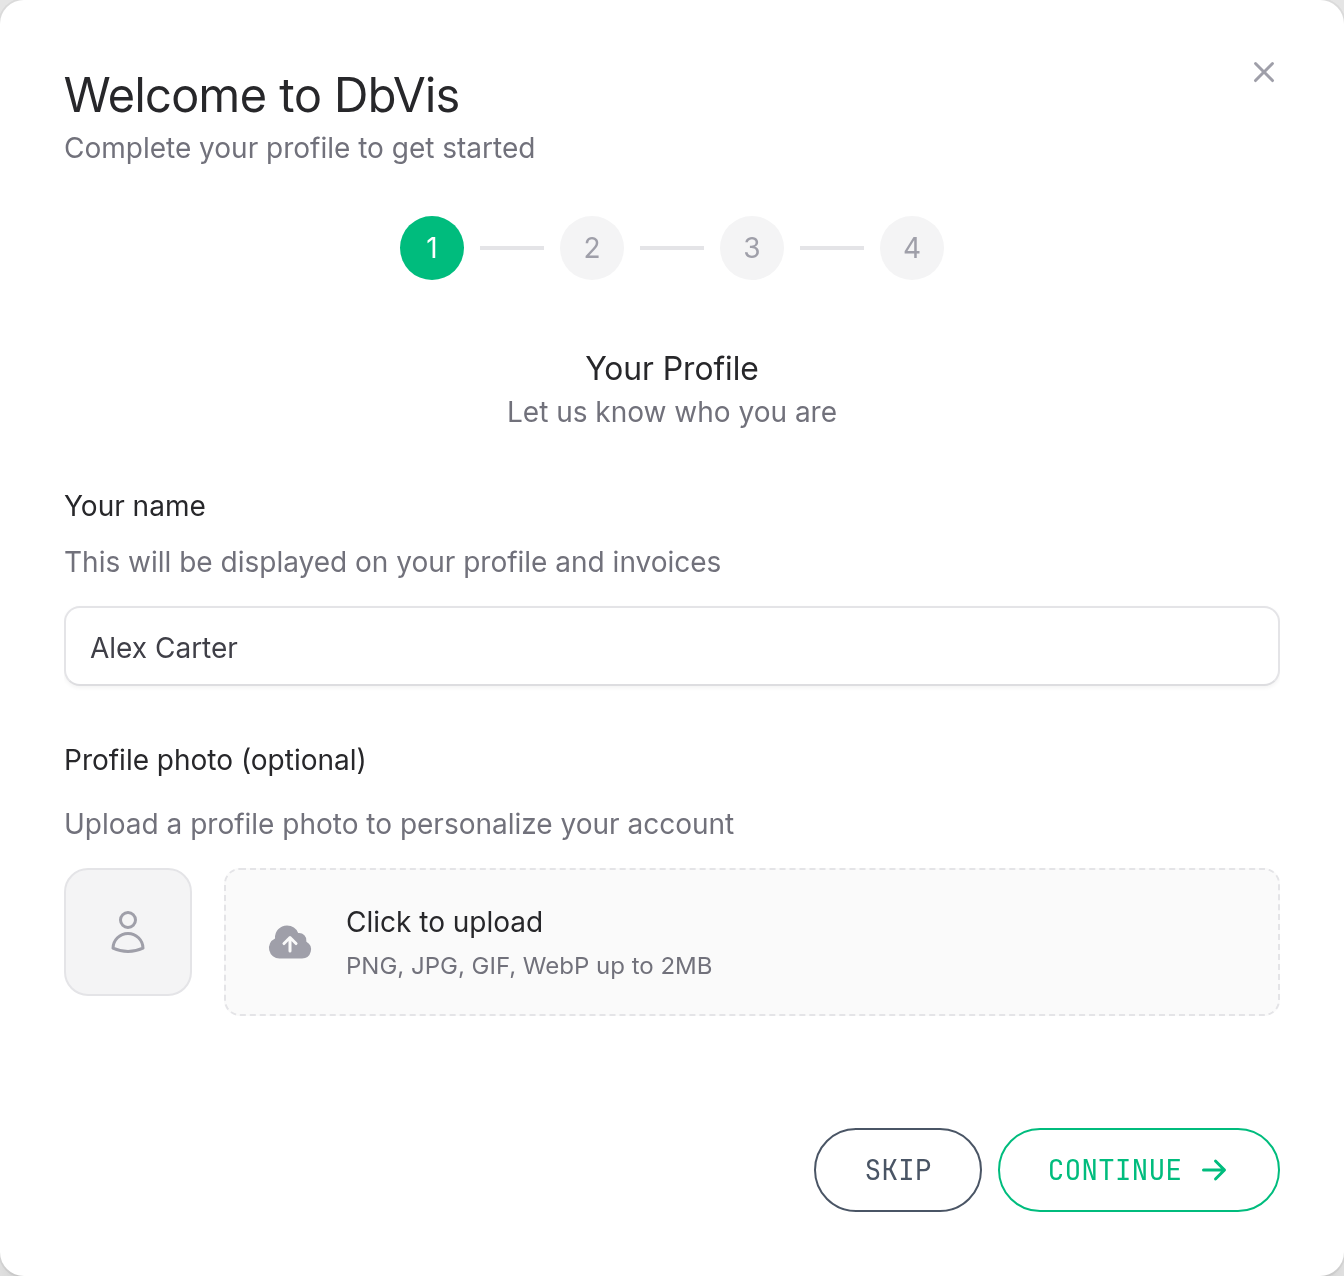
Step 2: Organization type
Select the type that best describes your organization. The available types are:
| Type | Description |
|---|---|
| Business | Standard account for most companies |
| Academic | Educational institutes |
| Start-up | Start-ups in their first five years |
| Non-profit | Non-profit organizations |
| Reseller | Reseller accounts |
After selecting a type, enter your Organization Name. For Business accounts you can also provide an optional Organization Number (company registration number) and VAT Number.
Discount-eligible types require approval
Academic, start-up, non-profit, and reseller accounts require manual review before purchases are enabled. See Academic and research verification for details.

Step 3: Business address
Enter the billing address for your organization. Fields marked as required vary by country.
- Street address: first line (required)
- Address line 2: apartment, suite, unit, etc. (optional)
- City (required)
- Postal code: required for most countries
- Region / State: required for some countries (e.g. US states)
- Country (required)
Country affects payment options
The country you choose here affects which payment methods and tax rules apply to your purchases.

Step 4: Import existing orders (optional)
If you want to import any past orders into the User Portal, paste the reference numbers here. A support ticket is created automatically and our sales team will reach out with the next steps for getting your licenses and users into the portal. You can skip this step if it does not apply to you.

Completing the onboarding
Once you have clicked Complete on the last step, you'll be taken to the Dashboard view with your organization successfully configured.

Editing organization details later
You can update any of these details at any time from Account in the left sidebar. The Account page has two relevant sections:
- Address: the billing address fields (street, city, postal code, region, country).
- Organization: organization name, type, organization number, and VAT number.
Make your changes and click Save Address or Save organization respectively. The save button becomes active only when there are unsaved changes.
