First Steps
Connecting to a database
To work with a database, you first create a database connection. See Creating a Connection.
Viewing a table
To view a table:
- In the Databases tab, expand the connection until you see the table.
Double-click the table to open it in an Object View tab.
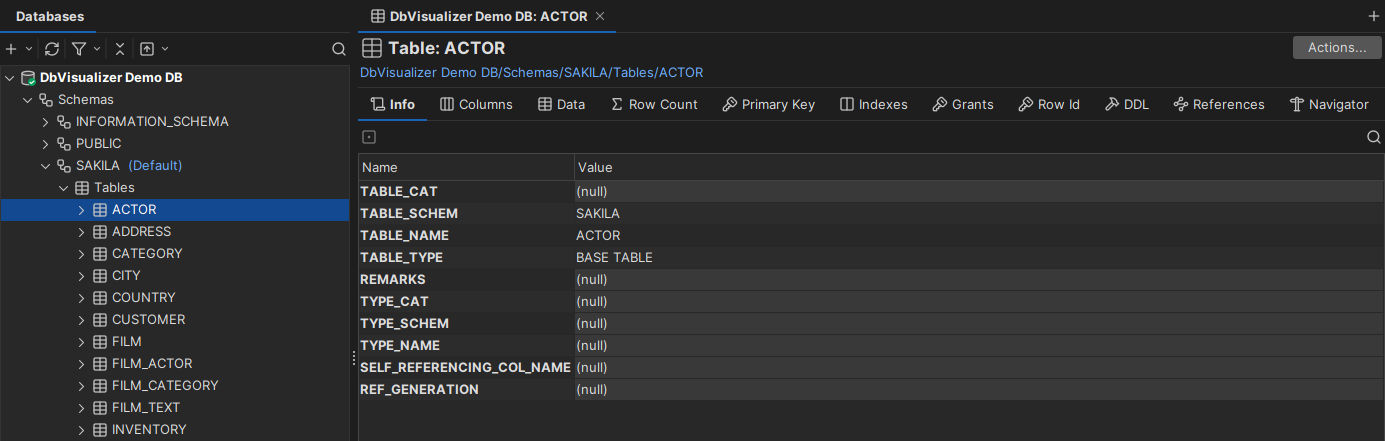
The Object View tab has a number of sub-tabs. Which ones depend on the database. These are the most common:
| Sub-tab | Description |
|---|---|
| Info | Brief information about the table. |
| Columns | The columns, with their data types and sizes. |
| Data | The table data. You can view and edit it here. |
| Row Count | The number of rows in the table. |
| Primary Key | The primary key columns, if any. |
| Indexes | The indexes, if any. |
| Grants | The privileges granted for the table. |
| DDL | The CREATE statement for the table. Only in DbVisualizer Pro. |
| References | The primary and foreign key relationships to other tables. See Viewing Table Relationships. |
| Navigator | Browse the data through the relationships. Only in DbVisualizer Pro. See Navigating Table Relationships. |
Editing table data
Only in DbVisualizer Pro
This feature is only available in the DbVisualizer Pro edition.
To edit the data in a table:
- In the Databases tab, expand the connection until you see the table.
Double-click the table to open it in an Object View tab, and open the Data sub-tab.
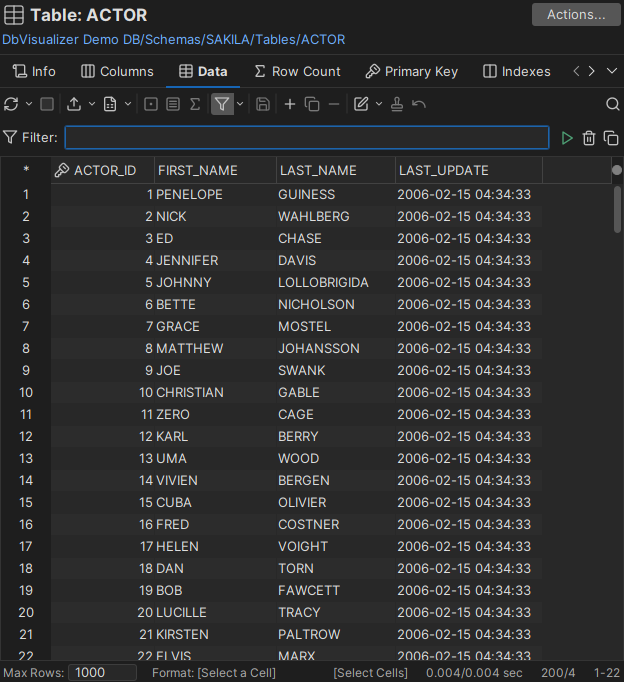
Edit values directly in the grid, and add or delete rows using the buttons in the toolbar.
- Click Save Edit(s) in the toolbar to save the changes to the database.
If the table has no primary key or unique index, you are asked to choose the columns that identify a row.
For more about editing data, see Editing Table Data.
Running SQL
To execute SQL statements:
- Select SQL Commander → New SQL Commander, or click New in the main toolbar.
- Select the database connection, and the catalog and schema to use. See Choosing the Connection, Database and Schema.
- Enter the SQL statements in the editor.
- Click Execute in the toolbar, or select SQL Commander → Execute.
The log and the results are shown in tabs below the editor.
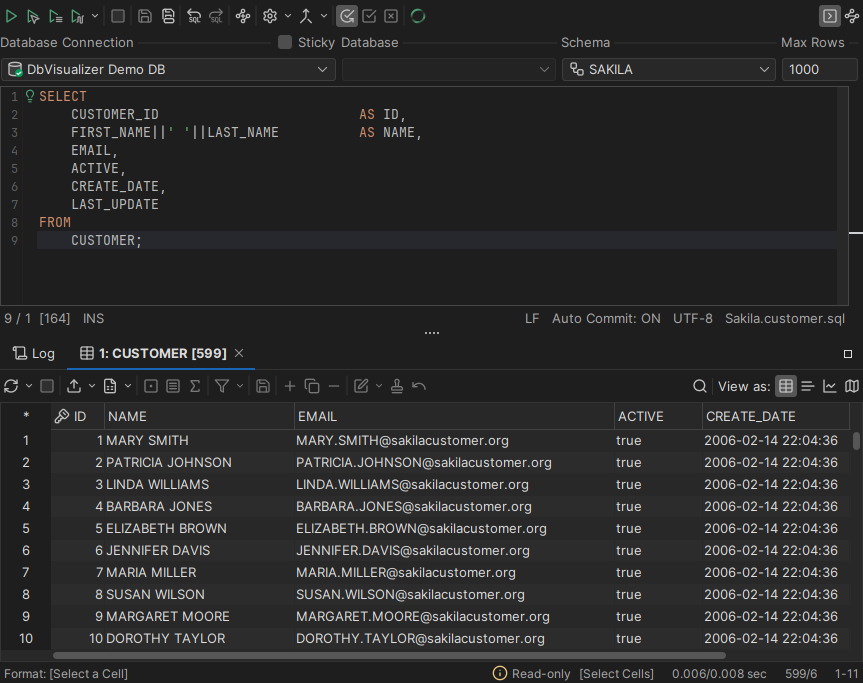
For more about writing and executing SQL, see Working with SQL.
Creating a table
Only in DbVisualizer Pro
This feature is only available in the DbVisualizer Pro edition.
To create a table:
- In the Databases tab, expand the connection until you see the Tables node.
Right-click the Tables node and select Create Table.
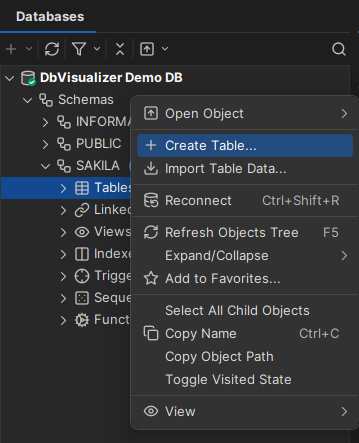
Add the columns and constraints in the corresponding tabs in the dialog.
- Click Execute to create the table.
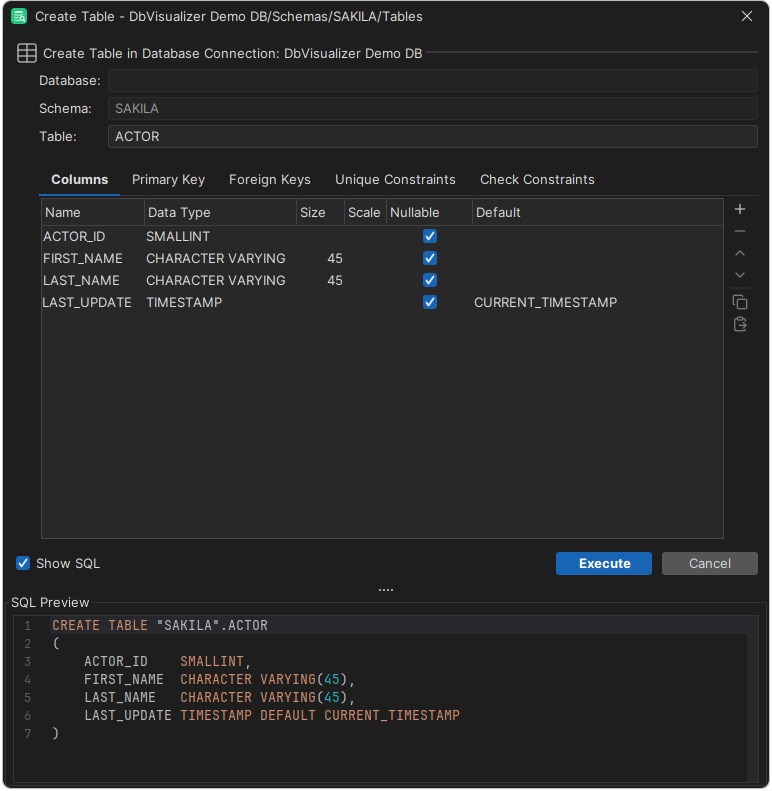
For more about the Create Table dialog, see Creating a Table.