Using Git
Only in DbVisualizer Pro
This feature is only available in the DbVisualizer Pro edition.
With Git, you can keep your scripts under version control and share them with your team. You work with Git repositories in the Git tab, and you can have several repositories there at the same time.
Adding a repository
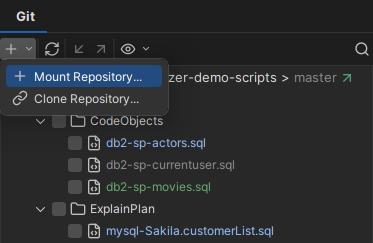
To add a repository, use Add Repository in the toolbar of the Git tab. For a repository that is already on your computer, select Mount Repository, and select its folder.
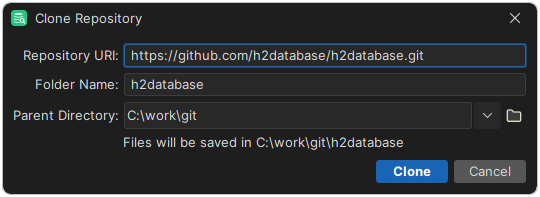
For a repository that isn't on your computer yet, select Clone Repository. Enter the URI of the repository, the parent folder and the folder name.
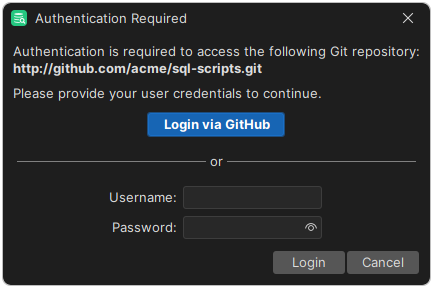
To sign in to the remote repository, you can use GitHub authentication for repositories on GitHub, a user name and password (also for personal access tokens), or SSH.
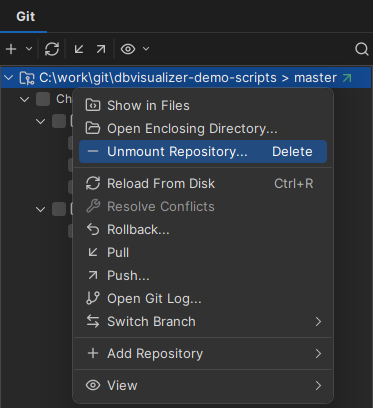
To change the order of the repositories, drag them. To remove a repository from the Git tab, right-click it and select Unmount Repository. The files aren't removed.
Viewing and undoing changes
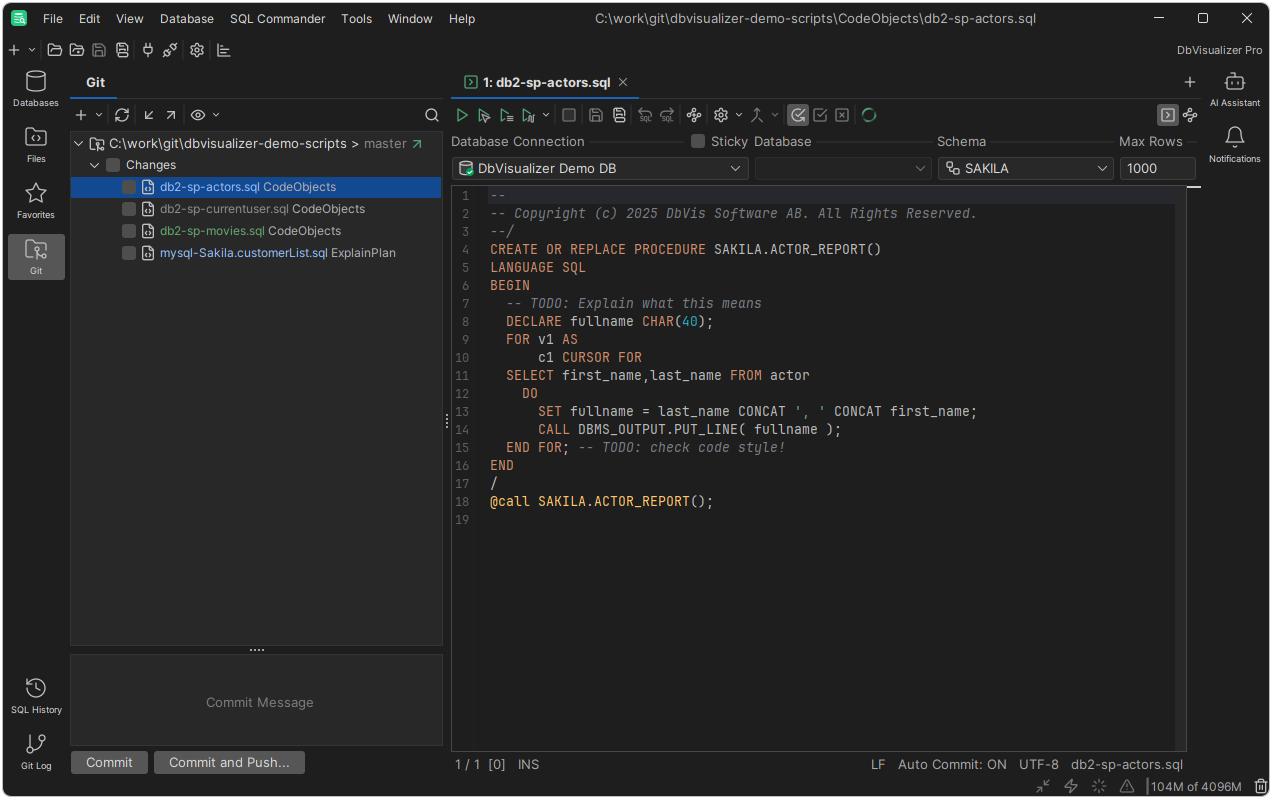
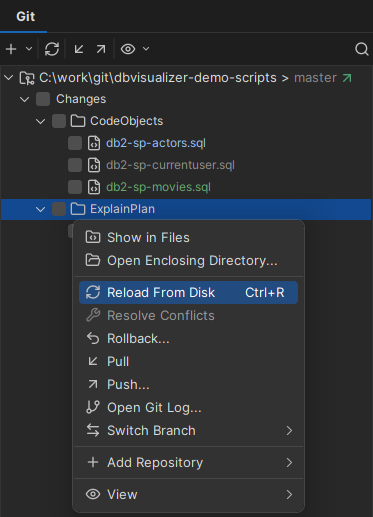
When you add, remove or change files in a repository, they are listed under the repository in the Git tab. To update the list, right-click the repository and select Reload From Disk. To update all repositories, click Reload All From Disk in the toolbar.
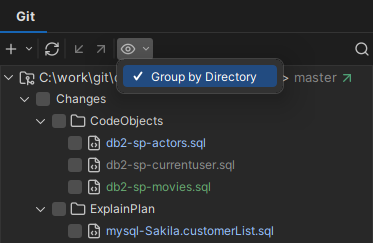
By default, the changed files are shown as a flat list. To show them in their folders, select View → Group by Directory in the toolbar.
To see the changes in a file, double-click it, or right-click it and select Show Diff. You can also change the file in the diff view.
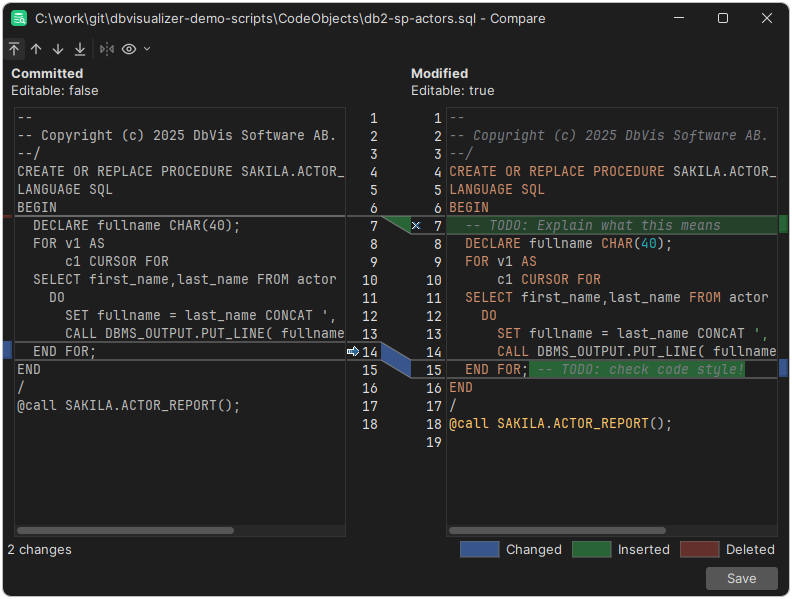
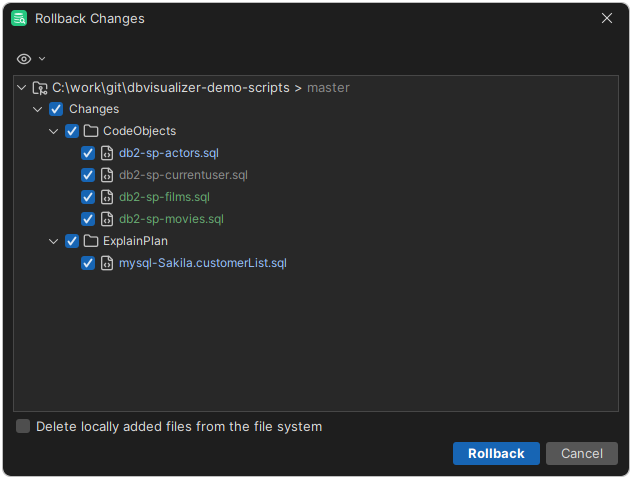
To undo changes, right-click the repository and select Rollback, and select the files. The files are restored to their last committed version. To also delete new files, select Delete locally added files from the file system.
Committing and pushing
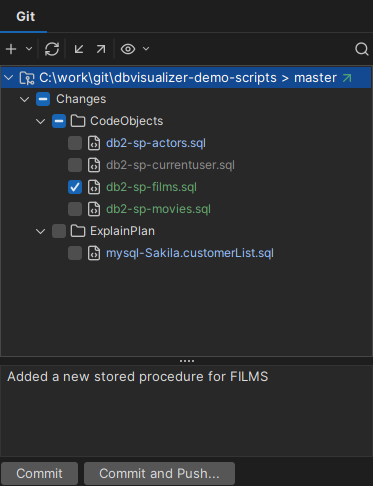
To commit your changes, select the check boxes of the files in the Git tab, and enter a Commit Message at the bottom of the tab. Then click Commit to commit them locally, or Commit and Push to also push them to the remote repository.
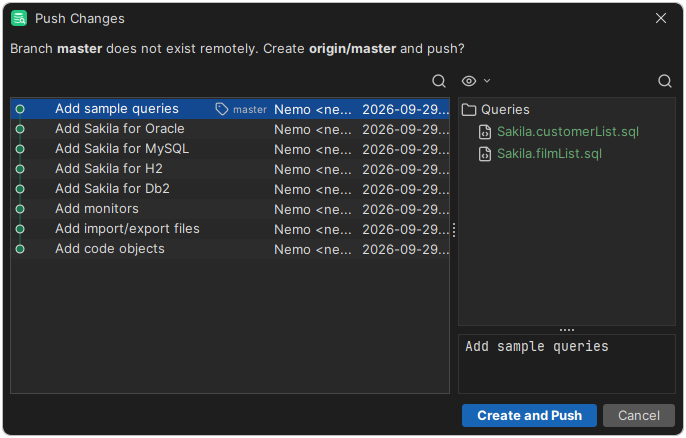
When you have commits that aren't pushed, an icon is shown next to the branch name. To push them, select the repository and click Push in the toolbar or the right-click menu. You are asked to confirm.
Pulling changes
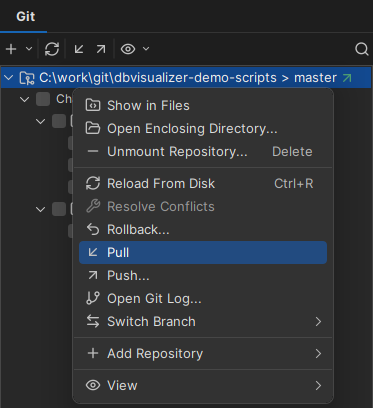
To get the changes from the remote repository, select the repository and click Pull in the toolbar or the right-click menu.
Resolving conflicts
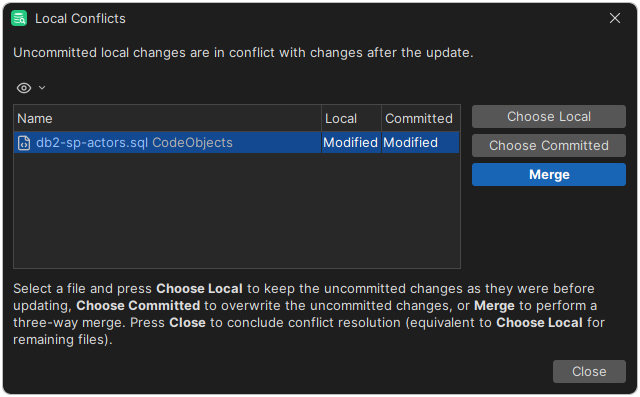
If you have uncommitted changes or commits that aren't pushed, they may conflict with the changes from the remote repository. If DbVisualizer can't merge them automatically, a dialog lists the conflicting files. For each file, click Choose Local to keep your version, Choose Incoming to use the remote version, or Merge to merge the changes yourself.
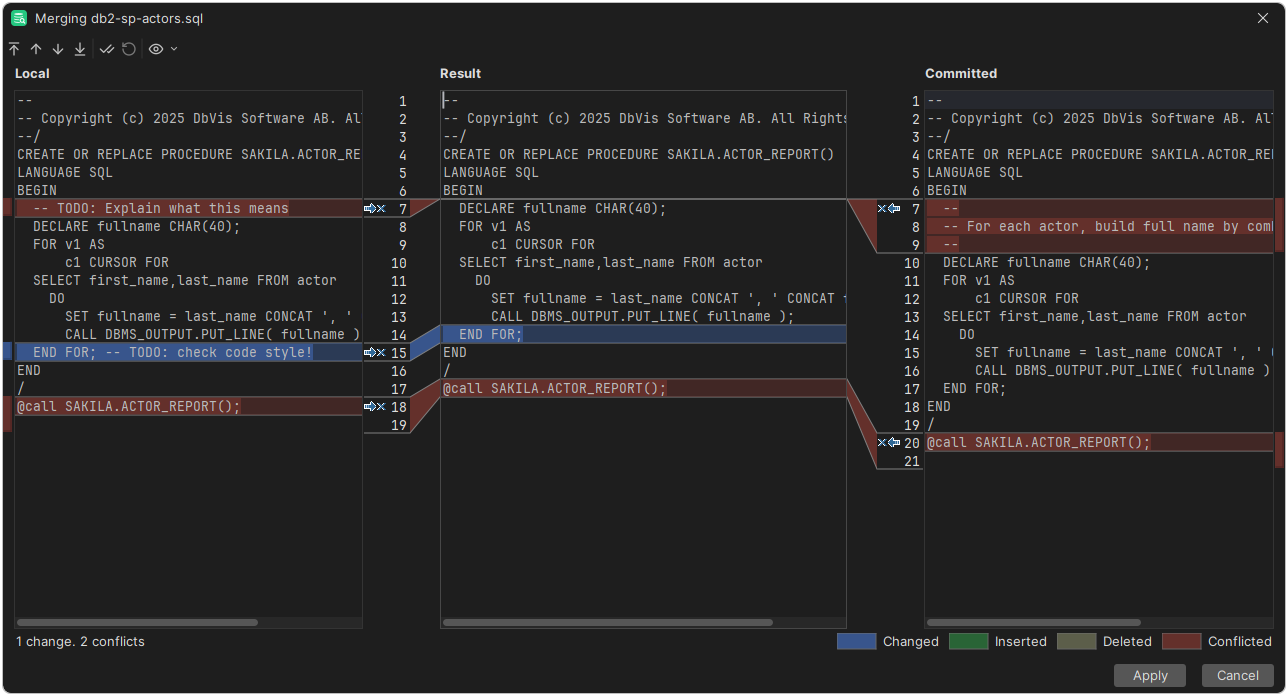
When you merge a file, your version and the remote version are shown on each side, and the result in the middle. The changes are highlighted, and you resolve the conflicts one at a time.
Using branches
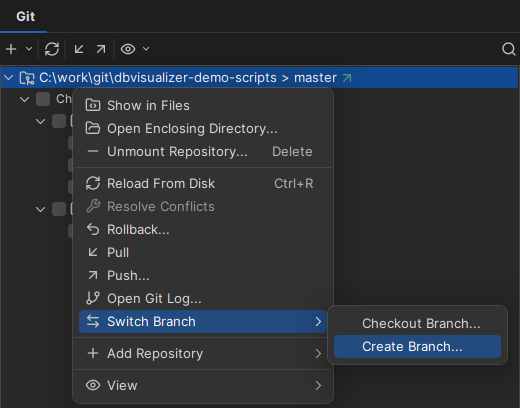
To switch branch, right-click the repository, select Switch Branch → Checkout Branch, and select a local or remote branch. To update the list of remote branches, click Fetch.
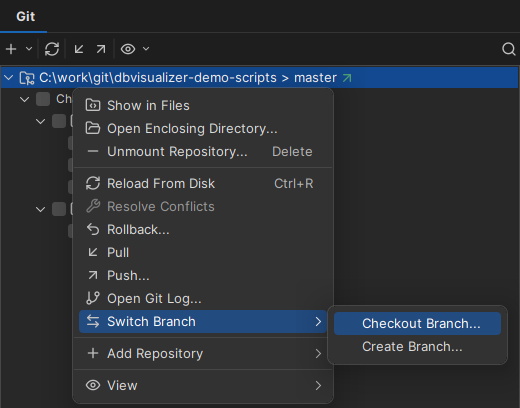
To create a branch, select Switch Branch → Create Branch and enter its name. DbVisualizer switches to the new branch.
Browsing the commit history
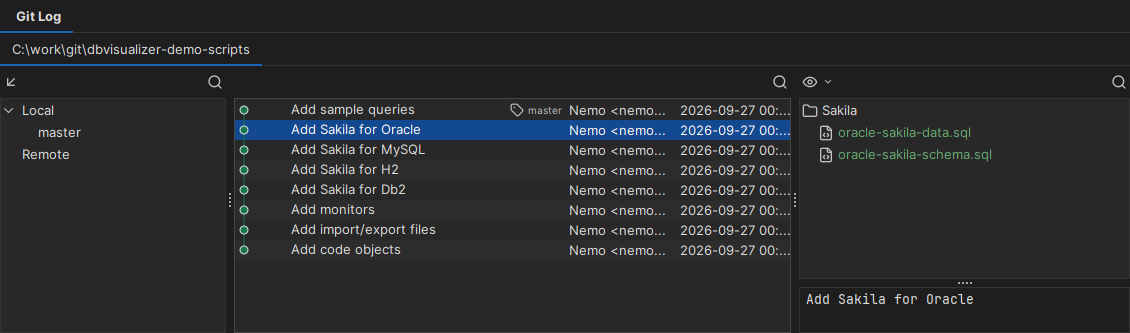
To see the history of a repository, right-click it and select Open Git Log. In the Git Log tab, select a branch on the left to see its commits, with the message, author and date. Branches and tags are shown with the message. The changes and the full message of the selected commit are shown on the right. To see the diff of a change, double-click it. To find a commit, use quick search.