intro
Writing reusable code is an essential aspect of being a good engineer. In this blog, we will teach you how to write queries using SQL and DbVisualizer.
The most outstanding data scientists and engineers are frequently distinguished from others by their ability to build reusable code. It is essential to have this skill, especially if you oversee database operations, which have a significant impact on how smoothly your application runs. In other words, your codebase will function poorly if it contains pointless or repetitious code, but it will work well if it has useful or reusable code.
This tutorial will cover writing some popular SQL queries executed regularly in most applications, making them reusable and saving them with the features available in DbVisualizer.
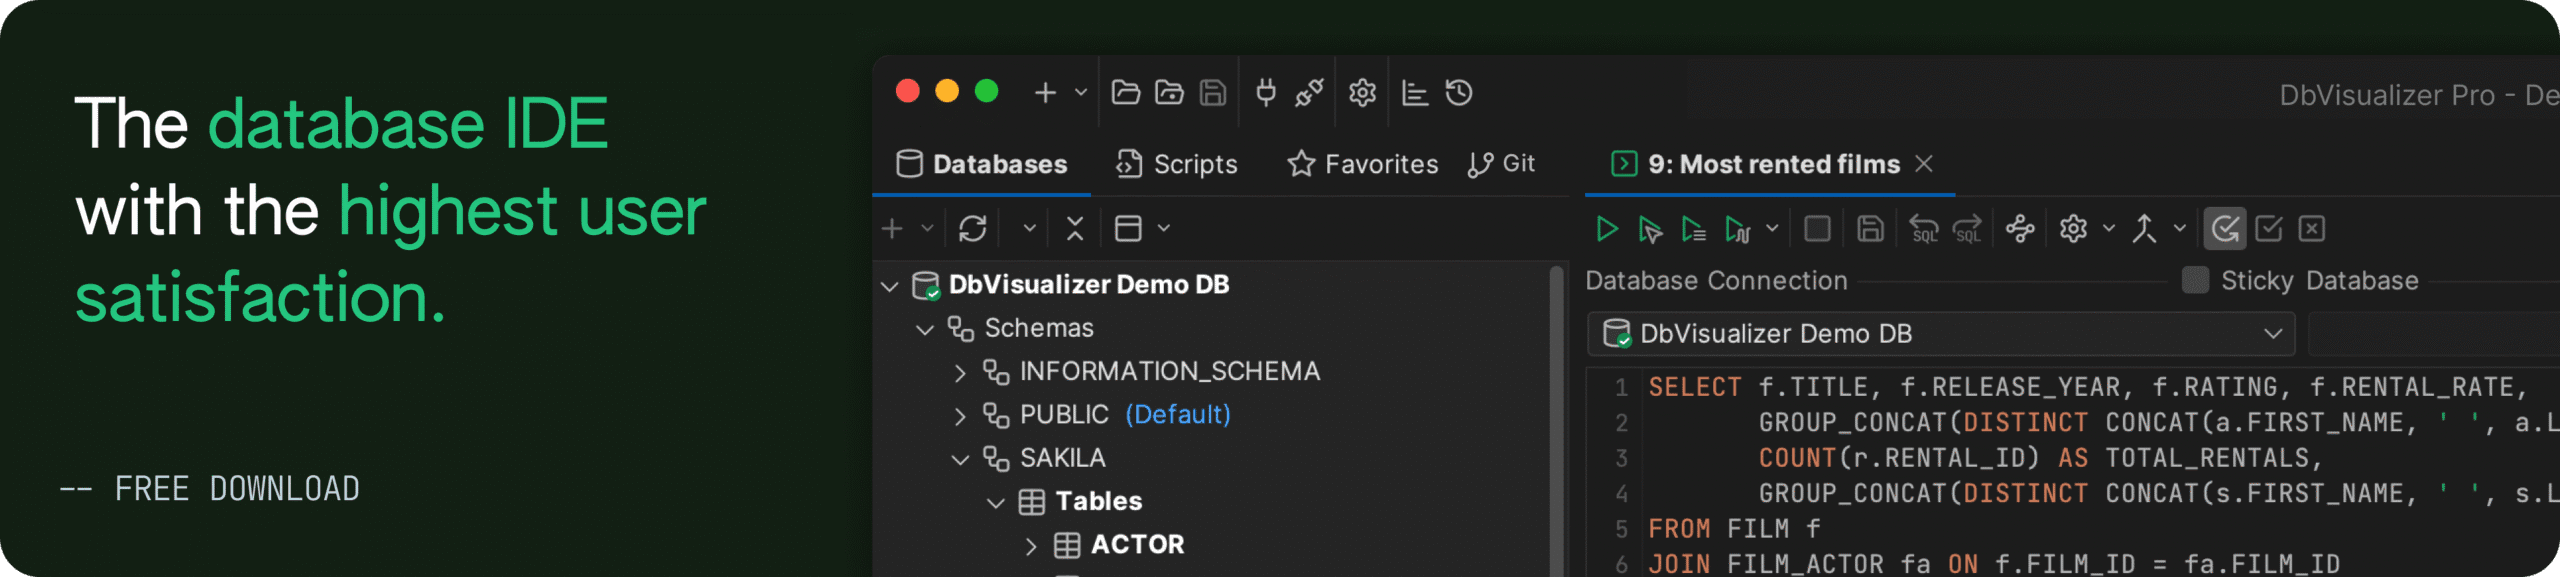
Connecting To Our Database Server
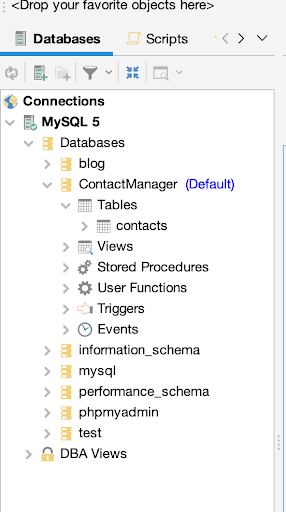
First, we'll need to use the DbVisualizer program to establish a connection to our database server. You can learn how to do that by following this guide. All of your databases ought to appear on the left side once you've established a connection. To create a new database for this tutorial, right-click on Databases and choose "create database."
Creating a Script
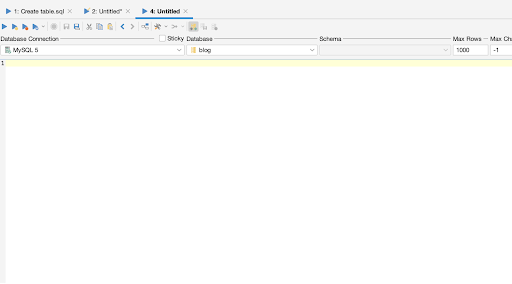
At this point, we will need to create a script to store each SQL query separately so we can easily refer to them when we want to use them again. To create a script, follow the steps listed below:
Step 1: Click on the play icon with a plus next to it.
It will open up a SQL commander tab where you can write your queries.
Step 2: After writing your queries, click on the blue diskette icon to name your script and save it.
Step3: You can view all your saved scripts in your bookmarks.

Writing Reusable SQL Queries
For this tutorial, we'll create SQL queries for a few common database operations and then save them as scripts in the DbVisualizer program. The following are the queries we have:
The CREATE TABLE Query
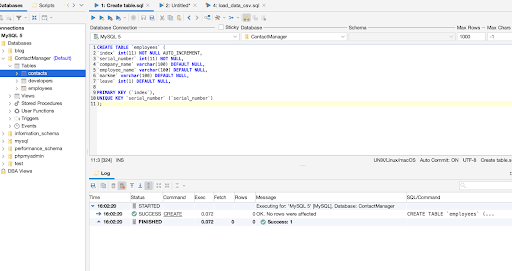
Databases allow us to create tables and save data in them. We can achieve this using the CREATE TABLE command. Below is an example of creating a table:
                    1


                    2
                    CREATE TABLE `employees` (


                    3
                    `serial_number` varchar(100) NOT NULL,


                    4
                    `company_name` varchar(100) DEFAULT NULL,


                    5
                    `employee_markme` varchar(100) DEFAULT NULL,


                    6
                    `description` varchar(100) DEFAULT NULL,


                    7
                    `leave` varchar(100) DEFAULT NULL,


                    8


                    9
                    PRIMARY KEY (`serial_number`),


                    10
                    UNIQUE KEY `serial_number` (`serial_number`),


                    11
                    ),;
Copy the query above into the SQL commander tab and click on the play icon to execute it.
It works perfectly. But how do we make this query more configurable for broader use cases? By using DbVisualizer’s variable feature, we can set variables in our SQL query as parameters and prompt for their values when the query is executed. We can achieve this by wrapping the variables we choose like so “$”. Here is the reusable version of the CREATE TABLE query:
                    1


                    2
                    CREATE TABLE `${table_name}$` (


                    3
                    `${first_column}$` varchar(100) NOT NULL,


                    4
                    `${second_column}$` varchar(100) DEFAULT NULL,


                    5
                    `${third_column}$` varchar(100) DEFAULT NULL,


                    6
                    `${fourth_column}$` varchar(100) DEFAULT NULL,


                    7
                    `${last_column}$` varchar(100) DEFAULT NULL,


                    8


                    9
                    PRIMARY KEY (`${primary_key}$`),


                    10
                    UNIQUE KEY `${unique_key}$` (`${unique_key}$`)


                    11
                    );
Executing the query above creates the prompt in the image below.
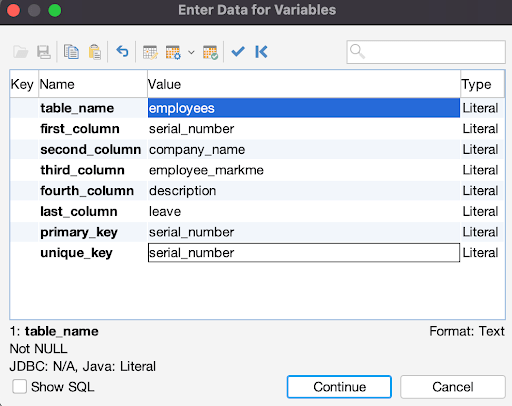
Click on “Continue” to execute the query using your provided values. Our CREATE TABLE query is now configurable.
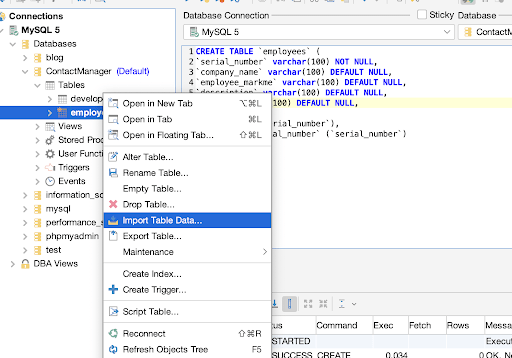
Currently, we have an empty contacts table. We can populate it by importing data from this CSV file. To import data, right-click on the contacts table we just created, then click on the import table data option from the dropdown.
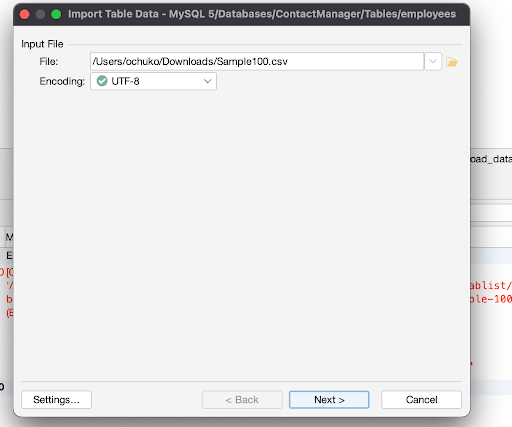
Now select the CSV file in the file directory as shown in the image below:
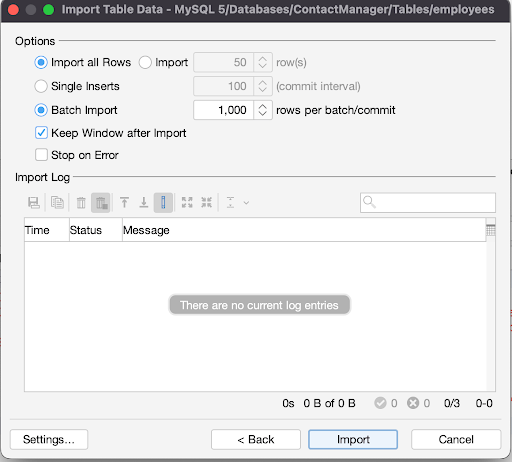
Continue clicking “Next >” until you get to the “Import” button.
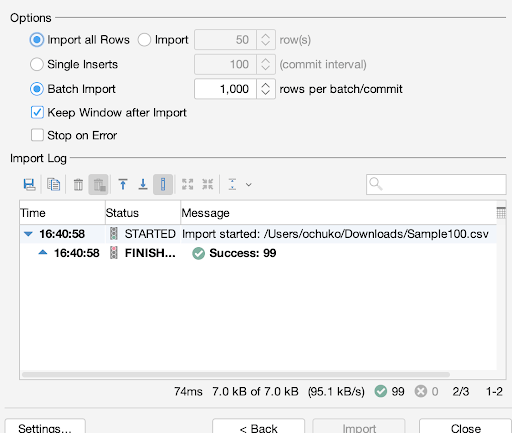
Finally, click on “Import”. You should receive a success message to signify that the data has successfully been imported into your tables.
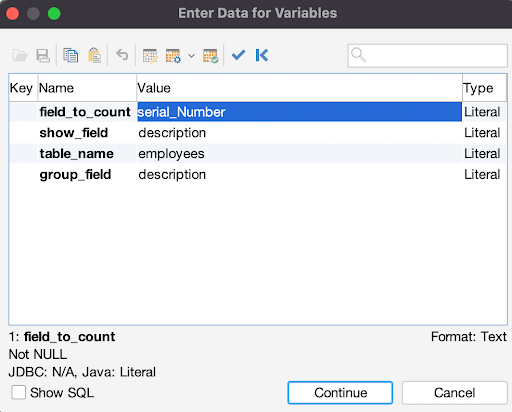
The COUNT Query
The COUNT query counts each row in a chosen field and displays the total number of rows in the table. Users can also define the query partition clause if they specify the DISTINCT option. The ORDER BY clause and windowing clause are not allowed since this clause is a component of the analytic clause. The syntax is SELECT COUNT(colname) FROM table name. In our example below, we will be counting data grouped by a common description:
                    1
                    SELECT COUNT(${field_to_count}$), ${show_field}$


                    2
                    FROM ${table_name}$


                    3
                    GROUP BY ${group_field}$;
This will return the number of employees that have the same description value.
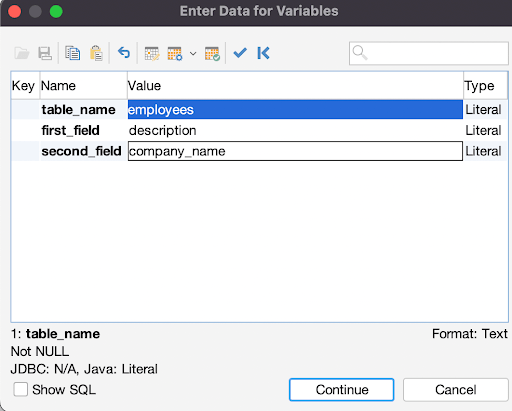
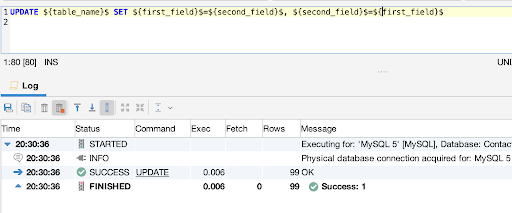
Swapping the Value of Two Columns In a Table
Let’s assume you’ve entered information for two fields and swapped their data incorrectly. To correct this issue, we’ll write a query to automatically switch the data in those two columns using the UPDATE command. Here is the query:
                    1


                    2
                    UPDATE employees


                    3
                    SET description=company_name, company_name=description
Returning Unique Values
Imagine for a moment that our data entry operator accidentally added duplicate data to the database table several times. To select only distinct (unique) values from the table, we will use SELECT DISTINCT to build a list of distinct data entries to solve the issue using the DISTINCT command:
                    1
                    SELECT DISTINCT ${distinct_field}$, ${show_field}$


                    2
                    FROM employees
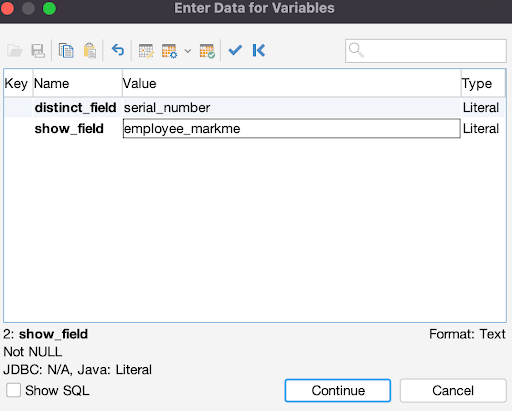
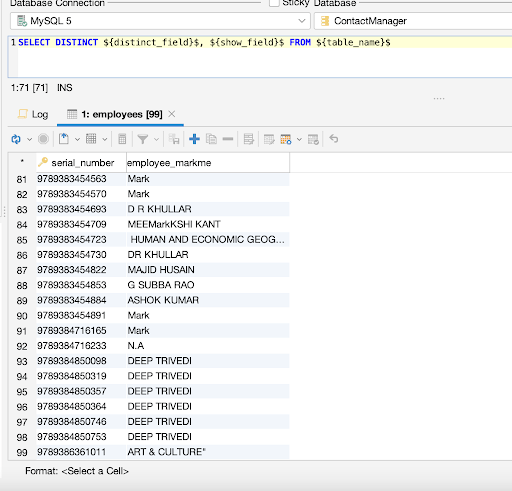
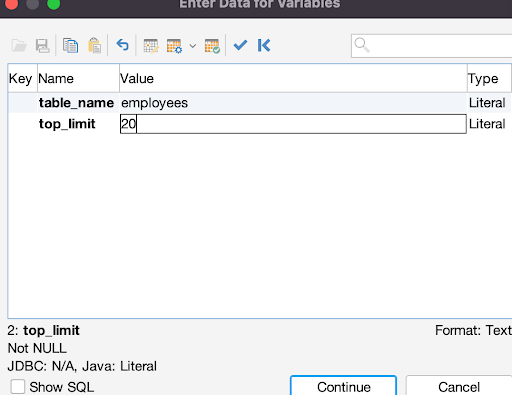
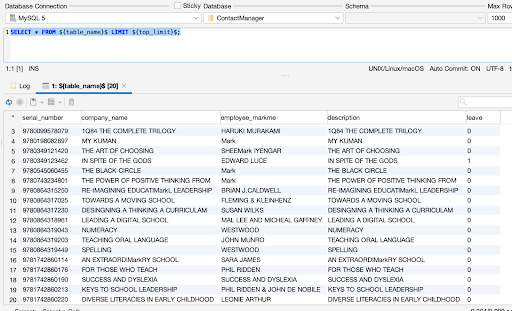
Limiting Retrieved Data
If our database has thousands or even millions of entries and we want to limit the number of rows that are retrieved, we can use the LIMIT clause to tell MySQL a specific number of rows to return. This is what we are doing in this example:
                    1
                    SELECT * FROM ${table_name}$


                    2
                    LIMIT ${top_limit}$;
Problems Solved
In the examples above, we converted some of our regular SQL queries into reusable versions by making their variables configurable using DbVisualizer’s features. But why should we make our queries reusable? Here are some benefits:
Conclusion
Today we took one step forward toward the database performance highway by building more performant applications with the help of DbVisualizer. Feel free to play around with DbVisualizer and learn more from the documentation, and feel free to reach out to me on LinkedIn if you have any questions.

