Creating a Connection
To connect to a database, you first create a database connection.
To import connections from other tools, see Importing Connections from Other Tools.
Creating a database connection
To create a connection, click the Create Database Connection button in the Databases tab toolbar, or select Database → Create → Create Database Connection.
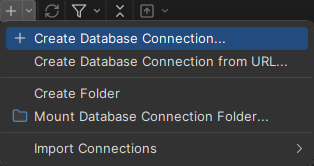
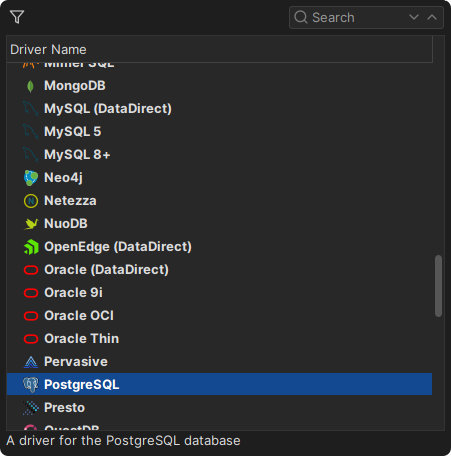
Create Database Connection shows a list of drivers. Double-click the driver for your database. If the driver isn't installed yet, DbVisualizer downloads it.
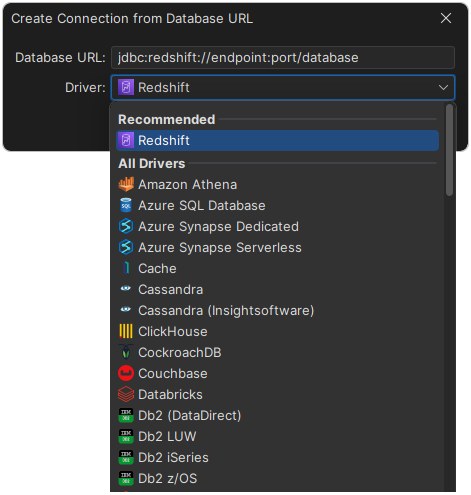
Create Database Connection from URL asks for a JDBC URL. When you paste or enter the URL, DbVisualizer suggests a driver based on it.
The new connection is added to the Databases tab and opened in a tab, where you enter the connection details:

- Enter a Name for the connection, and optionally a description in Notes.
- Leave Database Type as Auto Detect.
- Check the icon next to Driver Type. A green checkmark means that the driver is ready to use. Otherwise, see Managing Database Drivers.
- Enter the server details, described in the next section. Defaults, such as
localhostand the default port of the database, are filled in. - Enter the Database Userid and Database Password.
- Click Test Connection to check that DbVisualizer can reach the database. See Testing a connection.
- Click Connect.
If you have problems connecting, see Fixing Connection Issues.
Server details
The fields for the server depend on the driver. For most drivers, you enter:
| Field | Description |
|---|---|
| Database Server | The IP address or DNS name of the server where the database runs. |
| Database Port | The TCP/IP port of the database. |
| Database Userid | The database user name. Enter (null) to not send a user name. |
| Database Password | The password of the database user. Enter (null) to not send a password. |
Some drivers have more fields. For drivers with several ways to connect, a Connection Type field lets you choose one, for example to use a TNS name for Oracle.
To enter a JDBC URL instead of the server details, set Settings Format to Database URL. For some drivers, this is the only choice. With Database URL, you can't use an SSH tunnel.
To connect through an SSH tunnel, select Use SSH Tunnel. See Using SSH Tunnels.
Options
- Auto Commit: Whether auto commit is on by default for the connection. It is on by default.
- Save Database Password: Whether the password is saved: Save Between Sessions (default), Save During Session, or Clear at Disconnect. Saved passwords are encrypted.
- Permission Mode: Development (default), Test or Production. Selects which set of permissions to use for the connection. You set up the permissions in Tool Properties. Permissions are only used in DbVisualizer Pro.
For more connection settings, see Configuring Connection Properties.
Testing a connection
To check a connection before you connect, or to find out why connecting fails, click Test Connection in the Connection tab of the connection. The test runs the following steps and shows the result of each:
- Checks that the server can be reached on its port. If the connection uses an SSH tunnel, this is the SSH server; otherwise, it is the database server.
- If the connection uses an SSH tunnel, connects the tunnel.
- Connects to the database and logs in.
With Database URL as Settings Format, only the last step is run.